Create a channel
One channel per topic, project or unit. How to create a channel, which unit is responsible for it and who can see it.
Updated on
topic, project, visibility, privateAfter this article you have a channel for a project or topic – with clear responsibility and visibility.
Prerequisites
- A workspace with at least one unit. Department channels are created automatically; this is about additional channels.
Steps
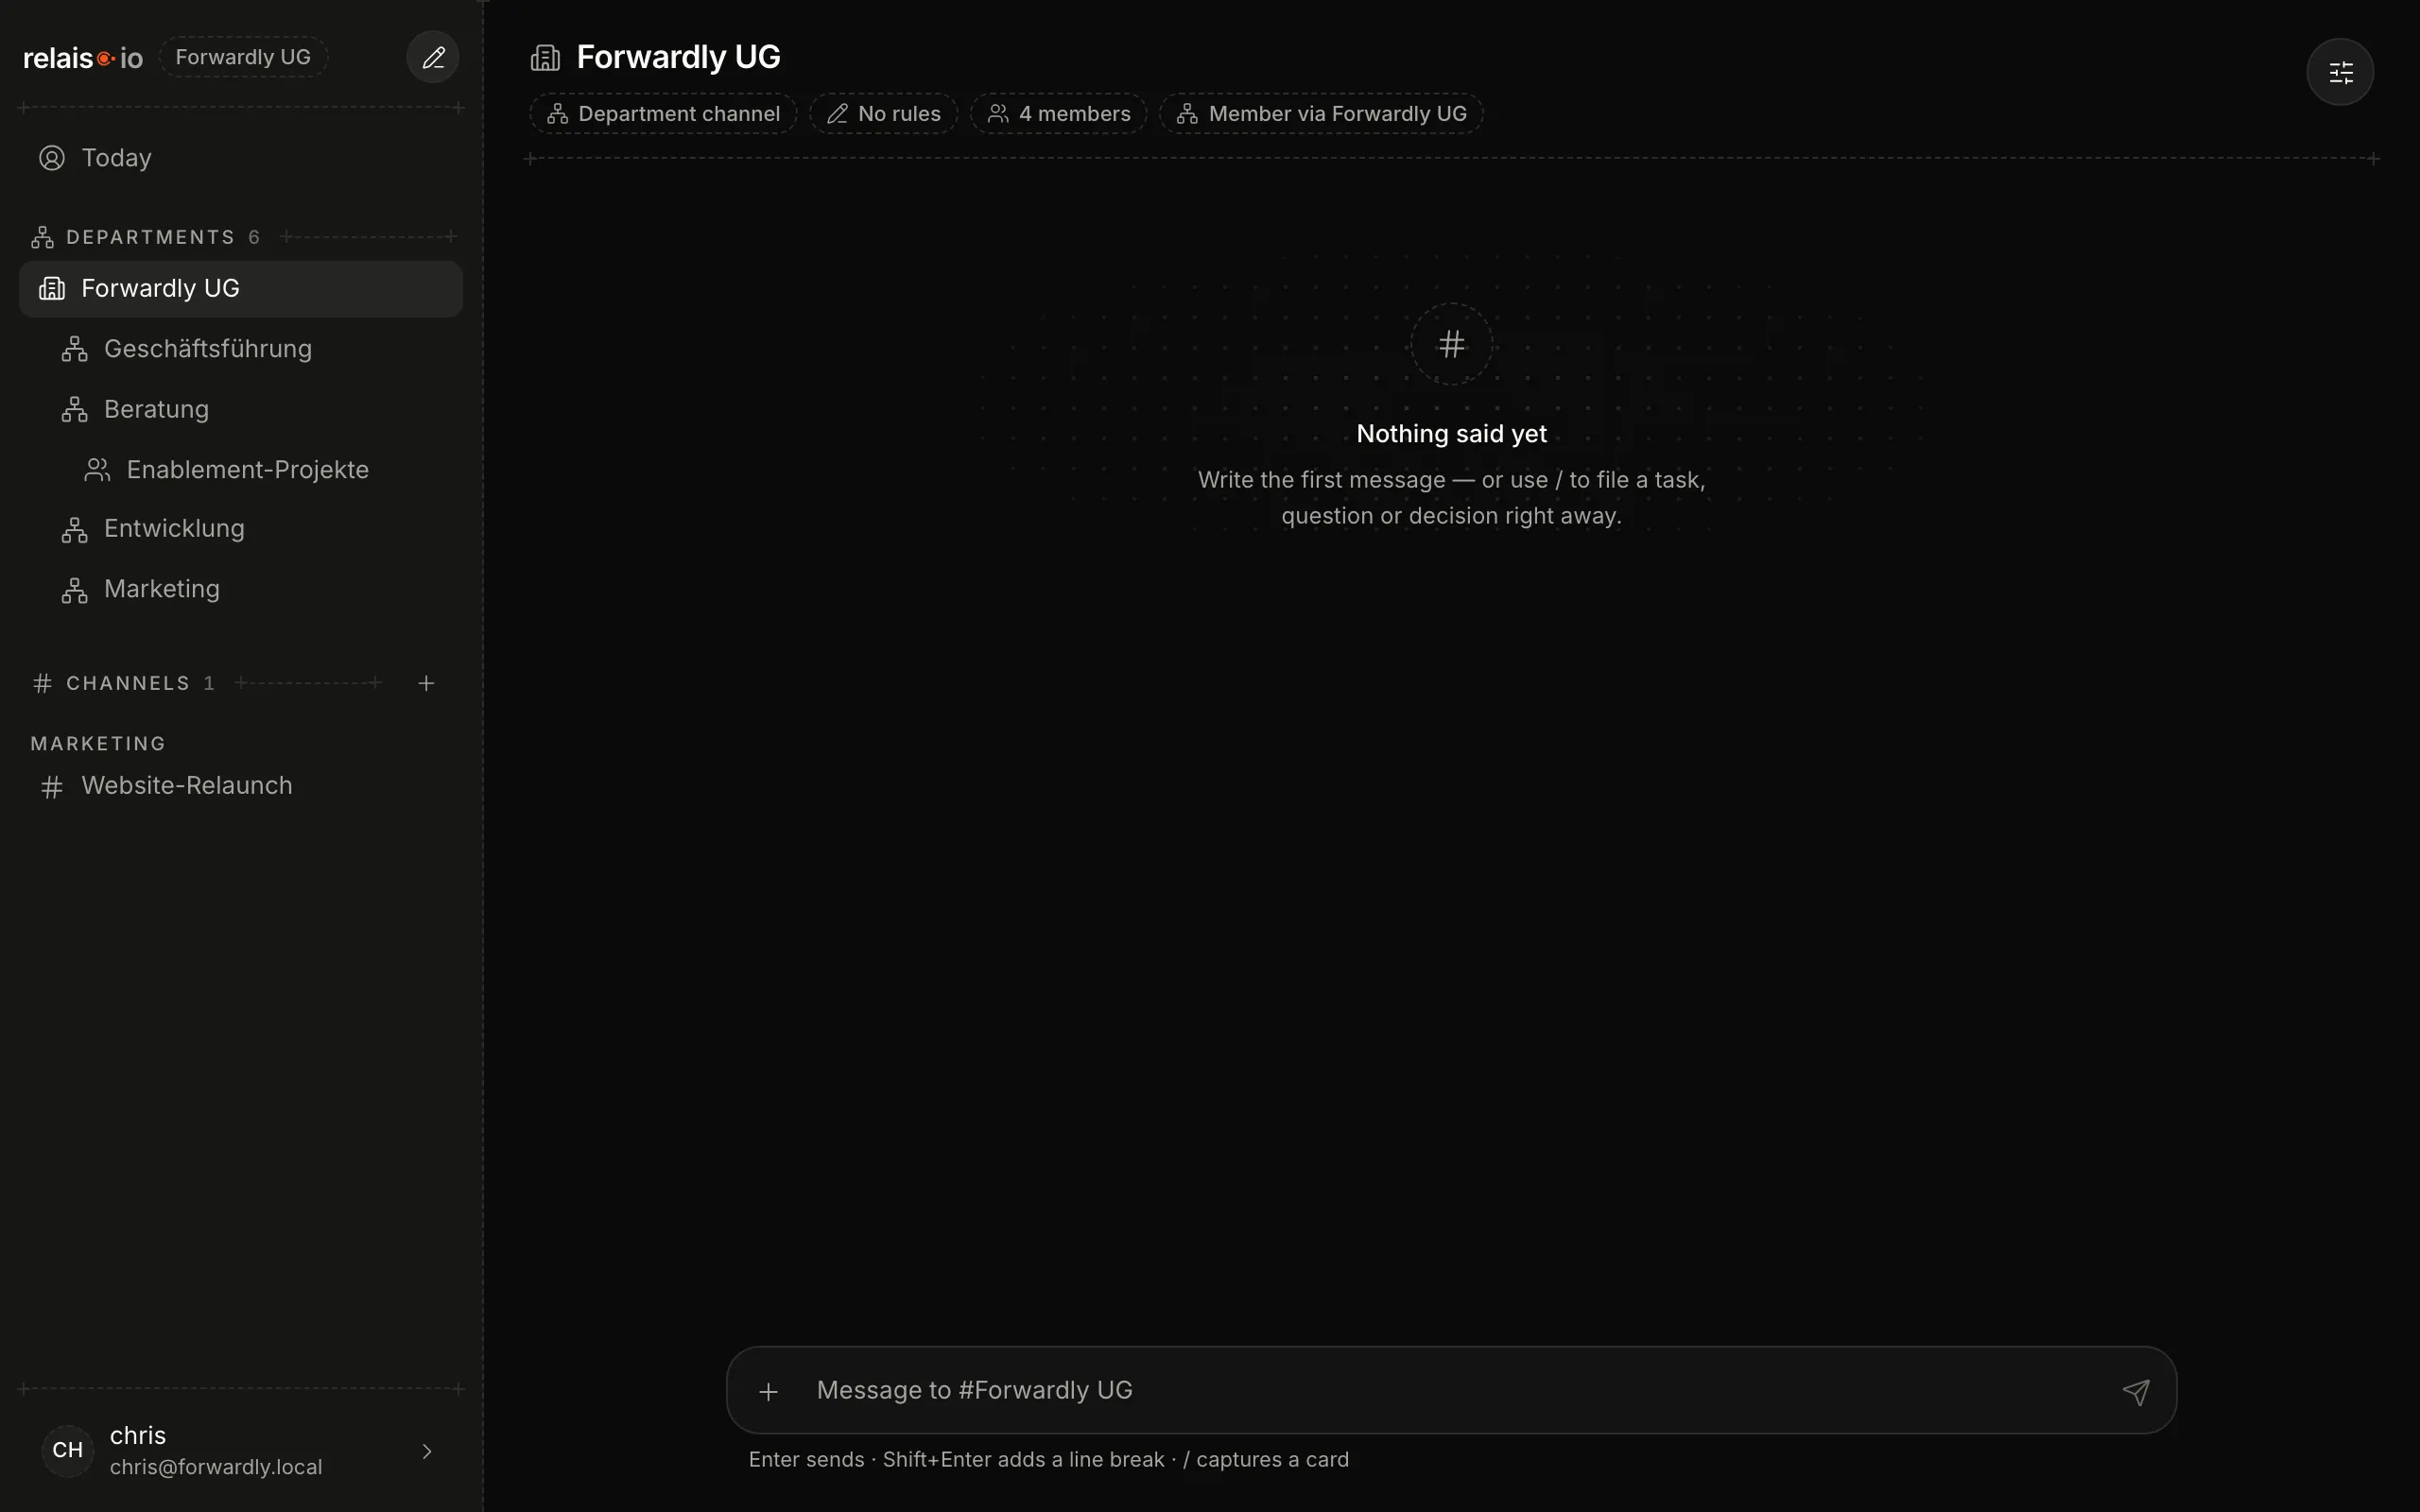
- In the sidebar, click “+” next to “Channels”.
- Enter a name, for example “Website relaunch”. relais.io derives the short form for agents and references from it.
- Choose the unit responsible for the channel – it owns its rules.
- Choose the visibility: “Unit” (everyone in the responsible unit) or “Private” (invited members only).
- Click “Create channel”.
Result
The channel appears in the sidebar under its unit. The channel header always shows: kind of channel, number of rules, members and your own membership.
Good to know
- Department channel vs. topic channel – Every unit has its department channel; whoever is in the unit is in automatically. Topic channels you create yourself.
- Rules – Via the icon at the top right of the channel you set rules that people and agents must follow in this channel.